Generate Lightweight ASCII Art for IoT and Embedded Displays
Generate Lightweight ASCII Art for IoT and Embedded Displays
In a world where devices are getting smarter but not always more powerful, designing visuals for IoT devices and embedded systems can be a unique challenge. Limited memory, display capabilities, and bandwidth require creative approaches. One such approach? Using ASCII art.
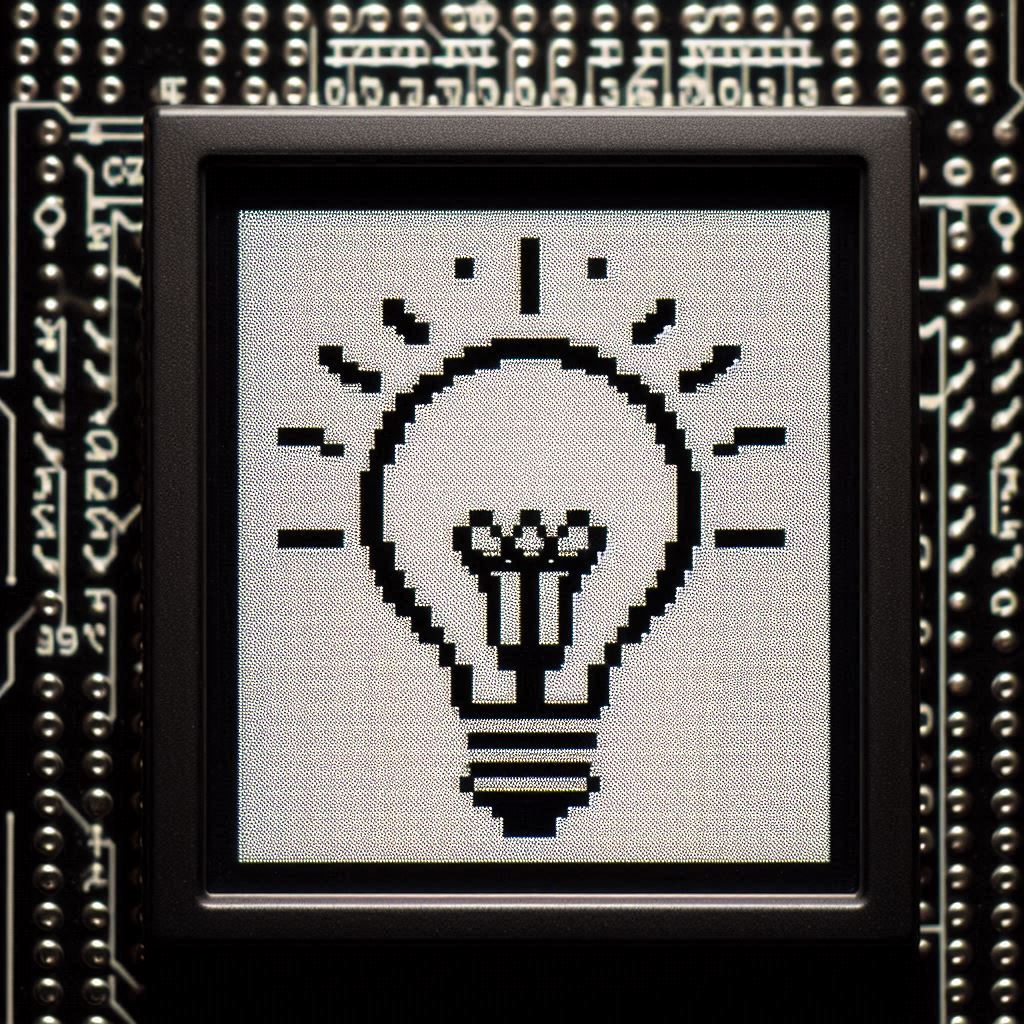
Why Use ASCII Art for Embedded and IoT Devices?
ASCII art is a method of representing images using only text characters. It's ideal for devices with:
- Monochrome or character-based displays
- Limited GPU or graphic support
- Small screen sizes (e.g., OLEDs, e-ink)
- Bandwidth-constrained environments
Using ASCII-based rendering can dramatically reduce resource usage while still conveying meaningful visuals.
How It Works
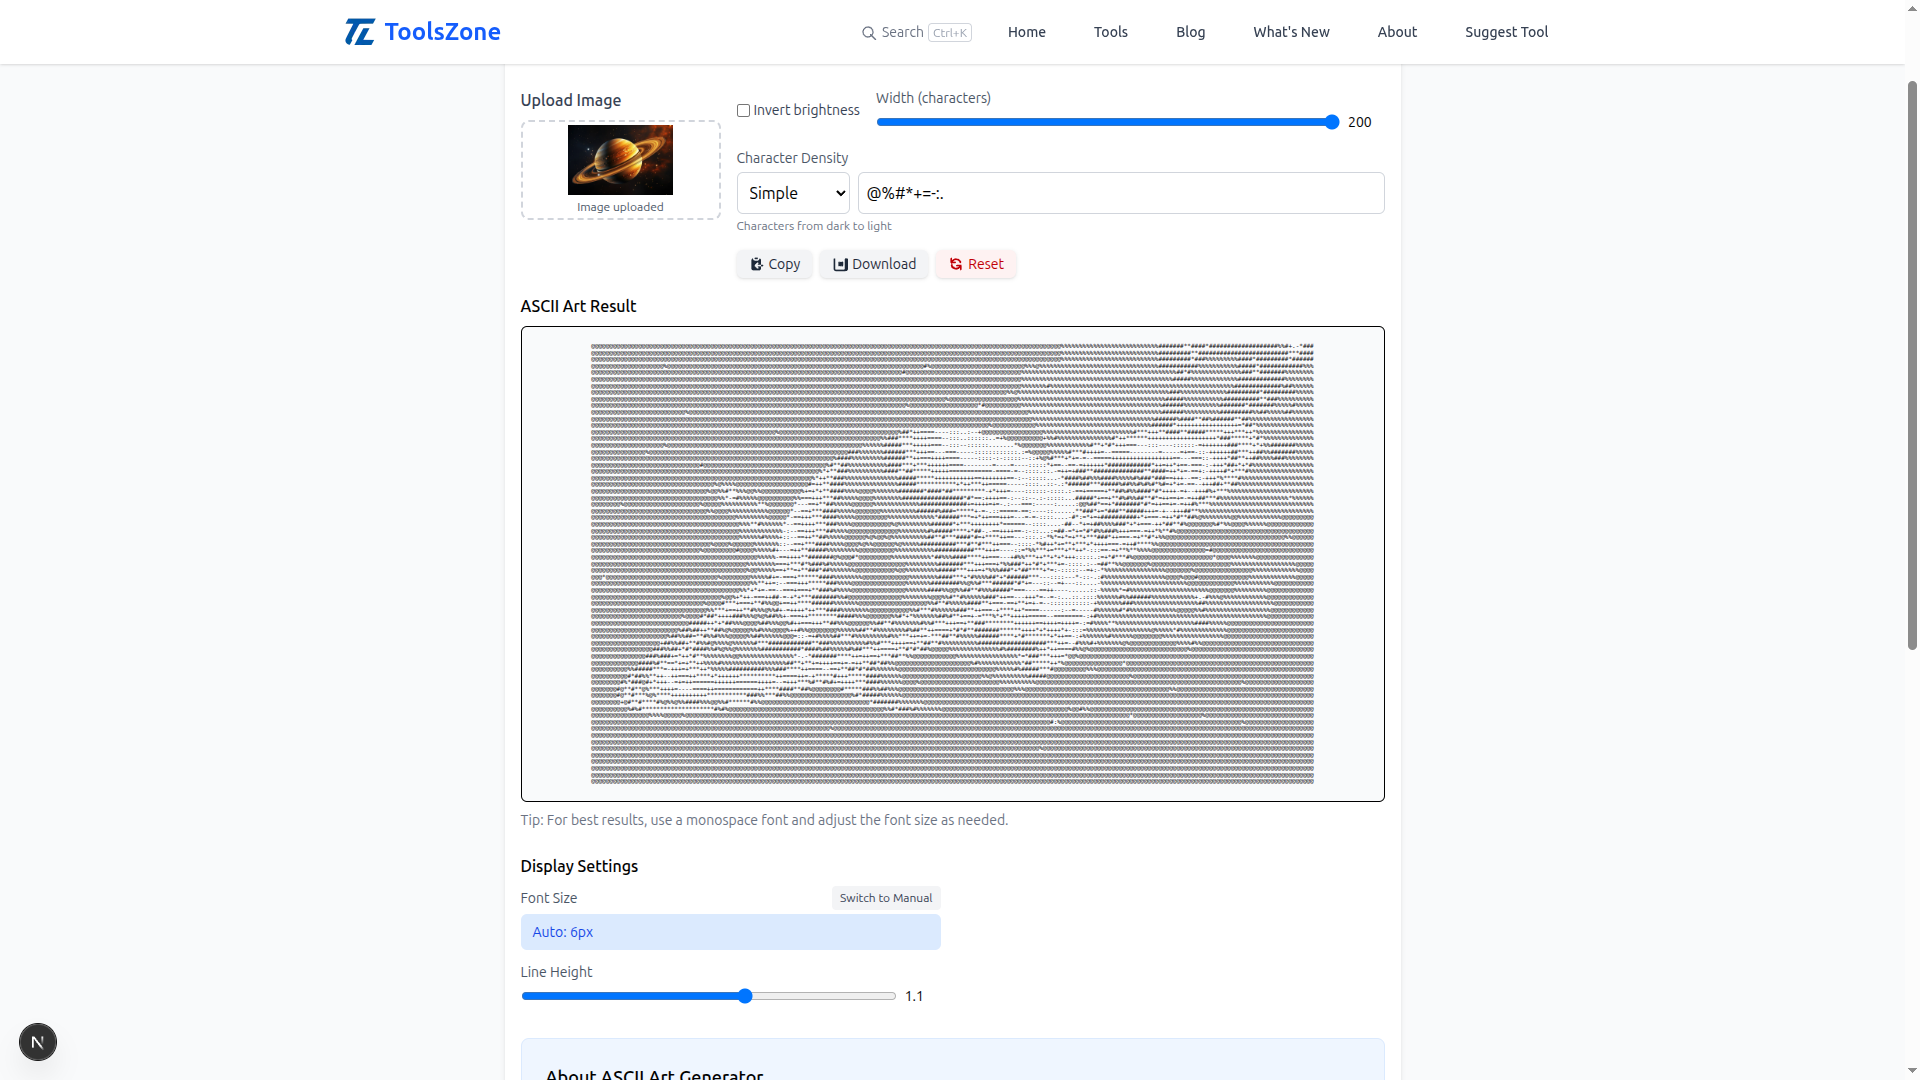
Our online ASCII Art Generator can help you convert any image into a text-based format that you can easily use in your code.
Behind the Scenes
-
Image Processing: The image is rendered on an HTML Canvas.
-
Brightness Calculation: Pixel brightness is mapped using the formula:
brightness = (0.299 * R + 0.587 * G + 0.114 * B) / 255 -
Character Mapping: Brightness is translated to characters from your selected character set (e.g.,
@,#,.,
Step-by-Step: Convert and Use ASCII Art for IoT
1. Upload and Convert
- Visit our ASCII Art Generator
- Upload your desired image
- Choose a character density preset (e.g., minimal or dots for clarity)
- Adjust brightness and output width as needed
2. Export the ASCII Text
- Copy the text output directly
- Or download it as a
.txtfile for embedding
3. Integrate Into Embedded System
Here’s a sample of how to integrate into a C-based microcontroller code:
const char* image_ascii[] = {
  "@@@@@@@@@@@@",
  "@@@######@@@",
  "@@@......@@@",
  "@@@@@@@@@@@@"
};

void draw_image() {
  for (int i = 0; i < sizeof(image_ascii) / sizeof(image_ascii[0]); i++) {
    display.writeLine(image_ascii[i]);
  }
}
Replace
display.writeLine()with the appropriate function call for your display library (e.g.,u8g2,SSD1306, etc.).

Best Practices
- Use monospace fonts for consistent spacing
- Optimize output width and line height for your screen size
- Use custom character sets for specific visual styles
- Consider inverted brightness for dark mode screens
Use Cases
- Smart home devices with minimal UI
- Terminal-based dashboards
- E-ink display signage
- Embedded system demos or branding
Try It Now
Ready to create lightweight visuals for your IoT project?
👉 Use the Online ASCII Art Generator
Keywords: ascii art generator for iot, image to text for embedded systems, ascii display, low-resource graphics, character-based rendering